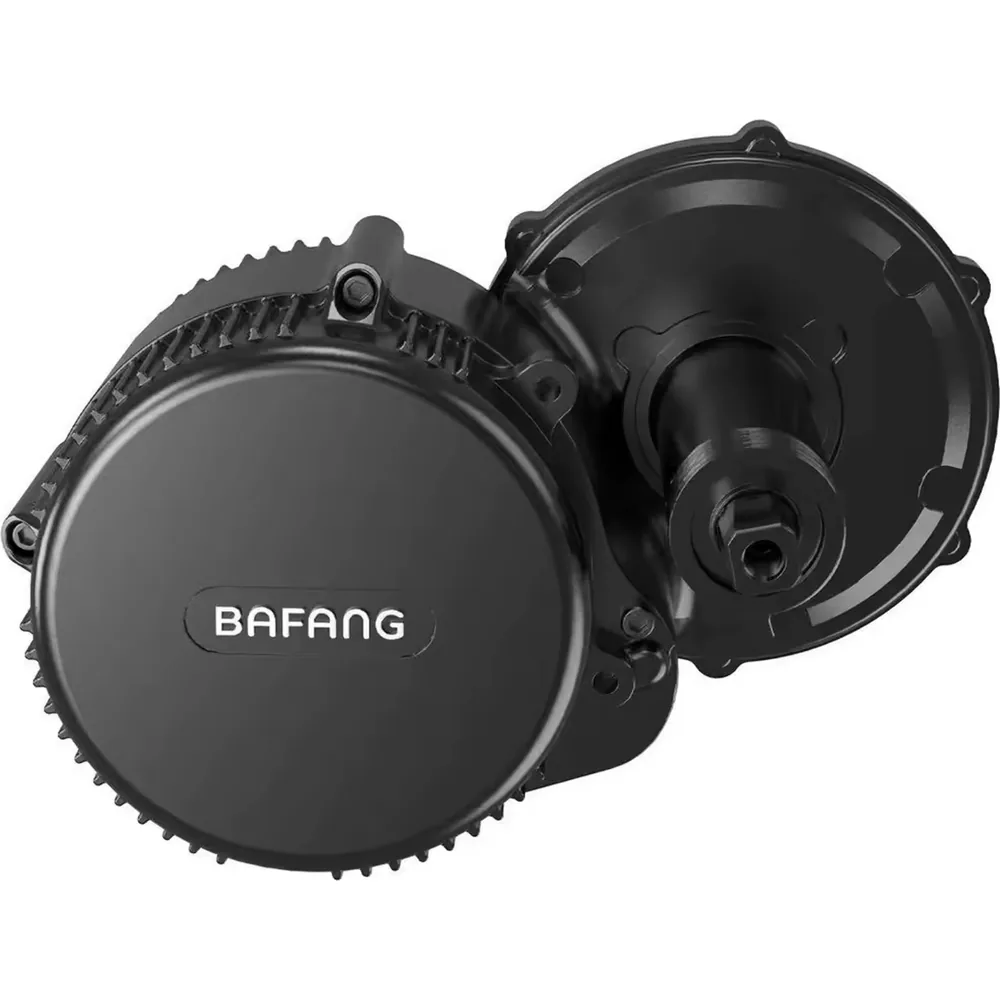
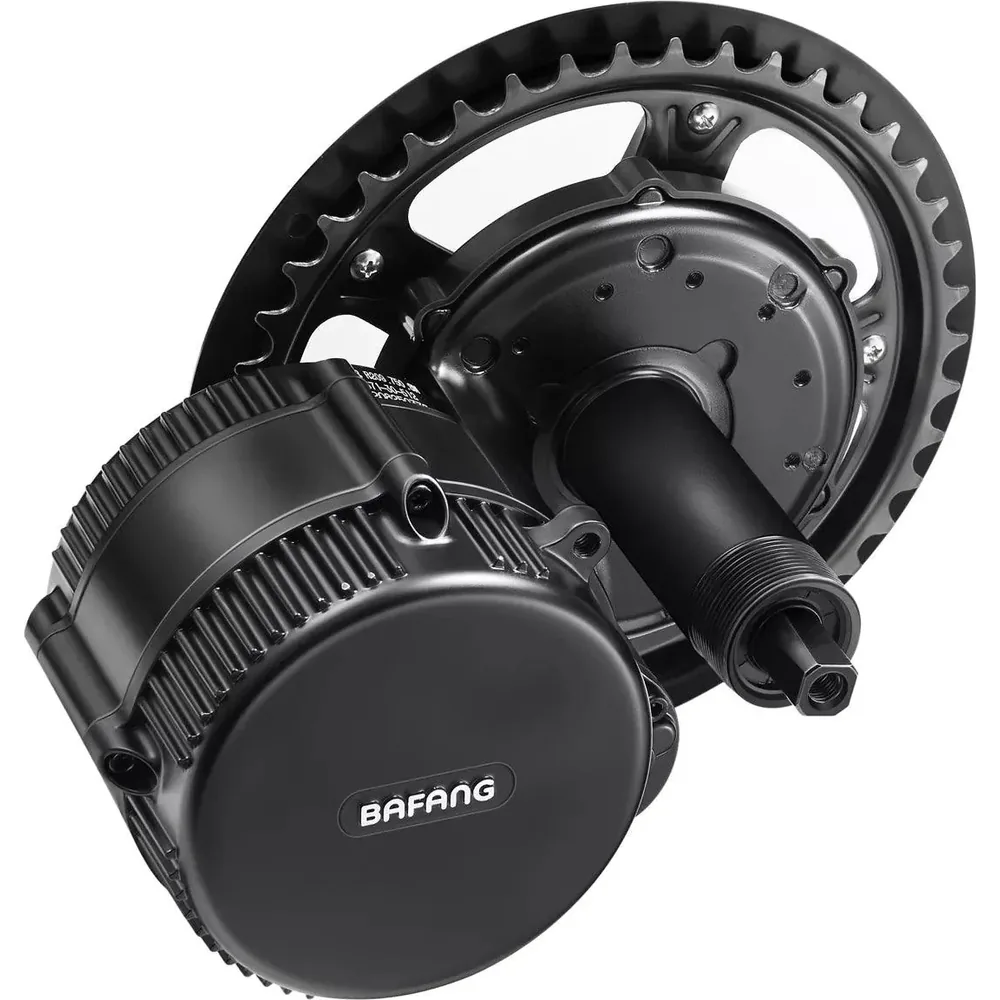
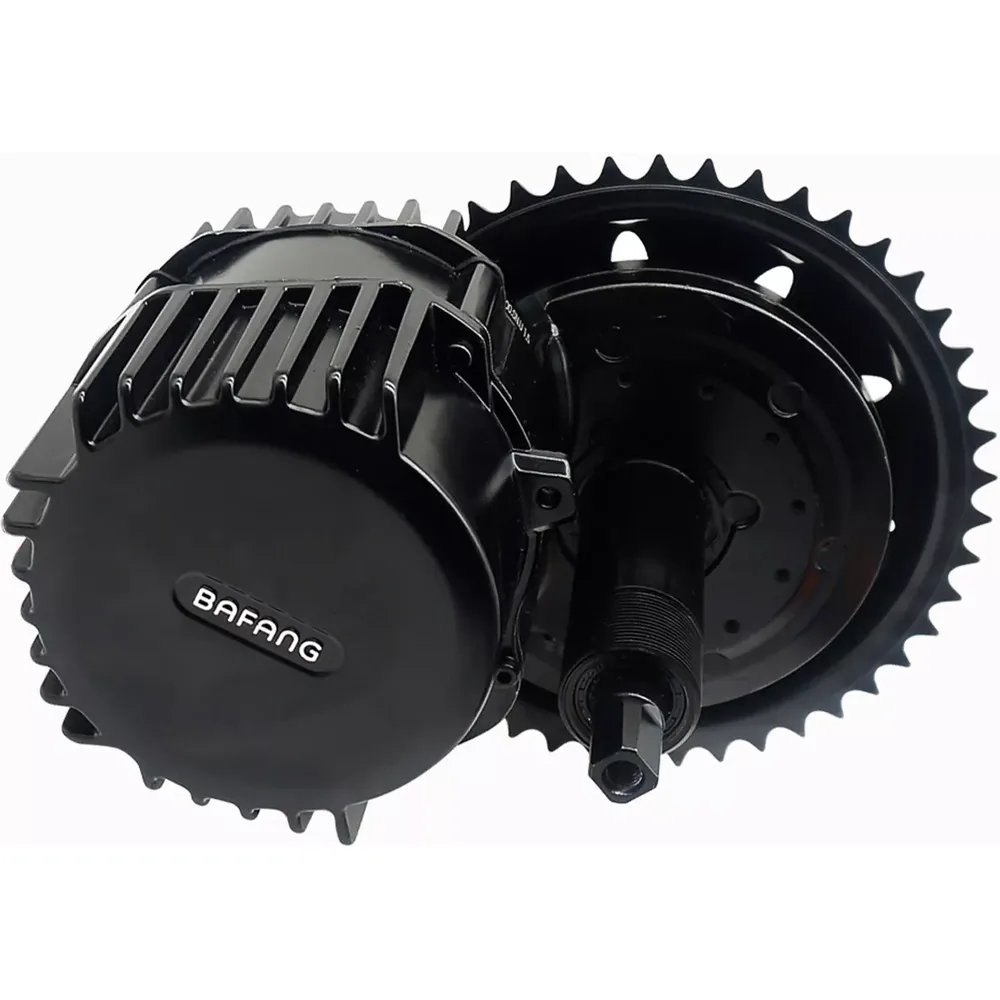
Installing a Bafang motor: the step-by-step assembly
A BBS kit install almost never fails at the tightening stage. It fails at the order, days earlier, when the motor was chosen without measuring the frame. This guide puts measurement back where it belongs: first.
The mistake that ruins installs
Bottom bracket width is the figure everyone checks, and clearance around the shell is the one almost nobody looks at. Yet a frame can show a perfectly compliant 68 mm shell and still refuse the housing because the right chainstay passes too close, because a derailleur cable housing runs along the shell, or because a rear-suspension pivot occupies the space.
Two measurements, in this order
The shell width, face to face, with a caliper. The free space around that shell, on the chainstay side and under the down tube. The first decides the model, the second decides whether the install is possible at all. On a BBSHD, whose housing is the bulkiest in the range, the second is by far the more limiting.
The seven steps of the install
Measure the bottom bracket width
68, 73, 100 or 120 mm, measured from one outer face to the other. Confirm it's a threaded shell: a press-fit shell doesn't take a BBS kit directly.
Check the clearance around the shell
Free space on the right chainstay side, room under the down tube, cable routing. This is where real feasibility is decided.
Remove the original crankset
Cranks, then the bottom bracket, with the tool matching the bike's standard. Clean the shell threads before presenting the motor.
Present and fix the motor housing
Feed in the axle, orient the housing so it touches neither the frame nor the cable housings, then tighten the lock nut with the supplied tool. The housing shouldn't be able to rotate or shift.
Fit the chainring, cranks and speed sensor
Chainring on the right side, cranks on both sides, magnet and speed sensor on the rear wheel at the distance given in the manual.
Wire the display and controls
Harness along the down tube, display and remote control at the handlebar, motor-cutoff brake levers connected. Leave slack in the cables at the headset.
Set up, check, test ride
Wheel diameter and cut-off speed in the display menu, crank-tightness check, then a low-speed test ride in an open space.
The accessories that change how long the install lasts
Two items aren't always supplied and deserve a place in the budget from the start:
- The gear-shift sensor, which briefly cuts assistance while the chain moves from one sprocket to another. On a cadence-sensor motor, it's what prevents most drivetrain damage.
- Motor-cutoff brake levers, which interrupt assistance the moment a lever is squeezed. On a high-torque kit, this isn't a comfort option.
Choosing the screen, meanwhile, is something to settle before ordering: the guide to Bafang displays details how much handlebar space each model takes up.
The three most common mistakes
Tightening the housing before orienting the motor. The lock nut tightens hard, and once it's in place, correcting the housing's angle means loosening everything again. Present, orient, check that nothing touches — then tighten.
Pulling the cables taut. The harness running up to the handlebar needs slack at the headset, or a simple half-turn of the bars will tear out a connector or a cable housing. It's a classic failure, discovered on the first walk-through in the driveway.
Neglecting the speed sensor. The magnet and its sensor need to face each other at the distance given in the manual. Too far apart, and the display shows nothing or reads the wrong speed — and since the assistance cut-off relies on that reading, the motor's behaviour becomes erratic without the motor itself being at fault.
After the install
Re-tighten the cranks after the first few kilometres, then check chain tension: a mid-drive motor changes the chainline, and wear no longer distributes the way it used to. If you're still torn between two models before committing, the comparison of the range lays out each one's compatibility range.
FAQ
How long does installing a BBS kit take?
Budget half a day for a first install, including removing the original crankset and routing the cables. A second install takes about two hours.
Which tools are essential?
A crank puller, the wrench matching your bottom bracket standard, the tightening tool supplied with the kit, a set of Allen keys, and a caliper for the initial measurements.
Can a press-fit shell take a BBS kit?
Not directly: the kit tightens onto a thread. Some press-fit frames accept a threaded adapter, but compatibility has to be checked frame by frame, and the install then falls outside the standard case.